
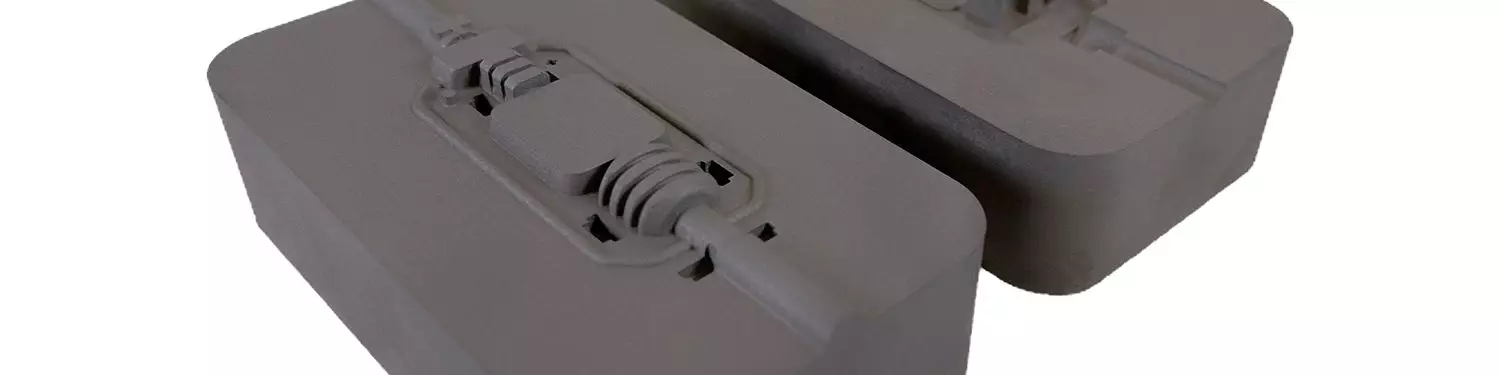


To quickly deliver production representative parts for a medical OEM to complete biocompatibility and functional testing, Westminster Tool used Mantle's TrueShape metal 3D printing technology to produce a prototype tool that provided the team with insights they could apply to the production tool build, saving time. Source (all images): Westminster Tool
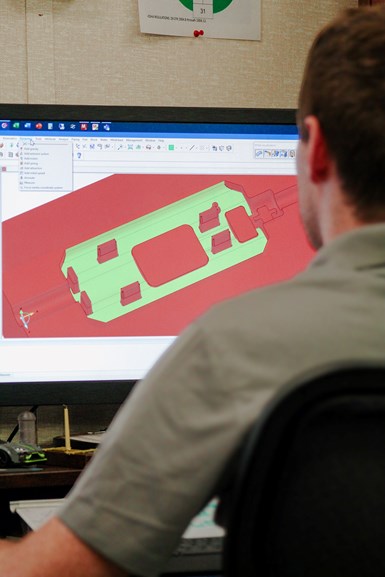
Since July 2022, Class 101 injection mold manufacturer Westminster Tool has pushed the limits of its Mantle Beta metal additive manufacturing (AM) machine, worked with Mantle to improve the machine's quality and efficiency and completed numerous trials to identify ways to add value using this technology.
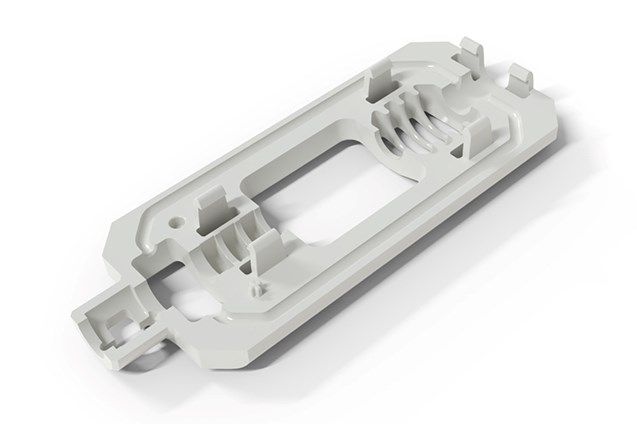
The company’s latest success story used metal 3D printing to quickly deliver production representative parts for a medical OEM to complete biocompatibility and functional testing. This included molding more than 7,000 pieces for development trials. Westminster Tool was then able to implement the lessons learned from the prototype mold build into a production mold, resulting in over 30% in design cost savings.


“Most of all, this tool design had over 40 swipe-by shut-off conditions, something we were concerned a printed technology wouldn’t be able to handle,” says Hillary Thomas, vice president of Westminster Tool. “Traditionally, this type of project would have required at least 8 weeks for manufacturing, requiring over 30 electrode shapes alone for EDM.”
The project was broken down into two phases of implementation.

Phase 1: Production-Quality Prototype Parts Within 4 weeks
The first step was manufacturing a prototype mold using MUD frame inserts and H13-equivalent printed cavities to replicate a production environment as quickly as possible. To do this, Westminster Tool used Mantle’s TrueShape technology (a method of metal 3D printing that deposits, shapes and then sinters metal paste into dense mold components) to print a top and bottom cavity. While the cavities were printed and sintered over 8 days, the Westminster Tool team finalized a post-print machining strategy, ordered MUD inserts and began the insert modifications.
The cavities required 55 hours of post-machining, which included the following:
- Grinding the bottom of the blocks to have a flat base to start from
- Squaring the block to bring molding geometry to center using hard mill
- EDM wiring ejector pin holes
- Tapping water lines and bolt holes
- Hard milling and using EDM on difficult swipe-by areas (six areas total)
These operations took an additional 1.5 weeks before Westminster Tool was ready for final assembly and molding: resulting in molded parts within 4 weeks. The parts had minimal flash, and all critical dimensions were within ±0.003".
The parts were then molded in batches for development and biocompatibility testing in two different materials. The first was an ABS resin and the second was a PC/ABS blend. Ultimately, more than 7,000 pieces were produced for the customer’s development needs.
The Westminster Tool team implements lessons learned from the prototype mold build into a production mold, resulting in over 25% in design cost savings.
Phase 2: Reviewing Lessons Learned
The first of several lessons learned involved warp and sink challenges. The Westminster Tool team was able to improve some of these by adjusting process parameters, but not all. Despite achieving success in development testing, these remaining defects needed to be addressed in a production mold. While the company waited for feedback from the customer, they began identifying root causes and mitigation strategies such as surface finish, ejection and gating strategies for the production mold.
This led to a better understanding of how the material performed in the tool during molding. For example, the length of the part was shrinking more than anticipated, thus moving a dimension out of tolerance. Based on the successful fitment of the prototype part into the assembly, Westminster Tool and the customer were able to move forward with the length at its current state confidently.
“Traditionally, we would have suggested staying steel safe in this area to hit the tolerance, which would have added cost and time,” Thomas says. “But in this case, we were able to shift our expectations and still meet the requirements.”
The team tackled warp and sink challenges in both the prototype and production mold stages by identifying root causes and mitigation strategies. This yielded a better understanding of how the material performed in the mold during molding, saving time and money.
Real Savings for Production Molds
“At Westminster Tool, we complete a thorough design for manufacturing process for every production mold we build,” Thomas says. This design process is heavily focused on risk identification and mitigation, and it accounts for about 20-30% of design costs. “By learning and understanding the prototype tool and the risk related to the part, we have a chance to remove most of these costs from our production tool build.” With this project, Westminster Tool already had the majority of the cavity stacks designed, saving an additional 10% of design time.
Most of the time, projects get hung up on the qualification phase of tools. “During the process of building tools, our pride comes from working towards real savings on the back end of the project,” Thomas shares. Whether it’s learning the hard way, for example, that a material is shrinking differently than expected or dealing with a mechanical challenge, troubleshooting can unnecessarily add weeks to a timeline.
Westminster Tool’s ultimate goal is to get involved sooner in part development so the team can seamlessly transition a complex mold from qualification to production.


Related Content

Complete Speaker Lineup Announced for the 3D Printing Workshop at NPE2024: The Plastics Show
Presentations will cover 3D printing for mold tooling, material innovation, product development, bridge production and full-scale, high-volume additive manufacturing.
Read More
How Hybrid Tooling — Part 3D Printed, Part Metal Shell — Accelerates Product Development and Sustainability for PepsiCo
The consumer products giant used to wait weeks and spend thousands on each iteration of a prototype blow mold. Now, new blow molds are available in days and cost just a few hundred dollars.
Read More
3D Printed End of Arm Tooling Aids Automation
Frustrations with traditional end of arm tooling led Richard Savage to start 3D printing custom versions for injection molding applications, eventually founding a company to fill this niche.
Read More
3D Printing Molds With Metal Paste: The Mantle Process Explained (Video)
Metal paste is the starting point for a process using 3D printing, CNC shaping and sintering to deliver precise H13 or P20 steel tooling for plastics injection molding. Peter Zelinski talks through the steps of the process in this video filmed with Mantle equipment.
Read MoreRead Next

8 Ways the Plastics Industry Is Using 3D Printing
Plastics processors are finding applications for 3D printing around the plant and across the supply chain. Here are 8 examples.
Read More
3D Printing Molds With Metal Paste: The Mantle Process Explained (Video)
Metal paste is the starting point for a process using 3D printing, CNC shaping and sintering to deliver precise H13 or P20 steel tooling for plastics injection molding. Peter Zelinski talks through the steps of the process in this video filmed with Mantle equipment.
Read More
3D Printing Enables Mold Shop to Rapidly Prototype Medical Parts (Video)
A case study involving Mantle’s 3D printing technology allowed moldmaker Westminster Tool to go from design to injection molded prototype medical parts in three weeks.
Read More